I’ve been a grill nut for years, and the only grill I use is the Weber kettle. I have a 22 inch Weber Performer Premium, which is a kettle grill built into a table, with the one-touch clean-out system (to make removing ash a breeze), and a gas charcoal starter (to make the grill as easy to start as a gas grill). I can cook anything on my Weber kettle: steak, asparagus, shrimp, ribs, tenderloin, salmon, zucchini – you name it. With a full table built into the side, this is the ultimate charcoal cooking platform.
There is only one thing I cannot do with a Weber kettle, and that is to truly slow-cook. I make a mean set of ribs, but it is very hard to keep a kettle grill below 250 degrees, making ribs a four hour cook rather than six, and while four hours is long enough to get amazing flavor, it is not long enough to make the ribs quite as tender as I want them to be. There are a number of cuts of meat I’ve never tried on the kettle grill for the same reason – I just can’t keep the temperature low enough to get the results I want.
There is a new technique on the kettle grill called ‘the snake’ that allows a true slow cook. I have not tried the snake technique, but as with any form of indirect heat, the snake technique takes away a large portion of the cooking surface. I want more capacity, so I decided to buy a smoker.
I could have purchased a pellet smoker, or an electric. Both of these types of smokers take out all of the guesswork – you literally just set the temperature where you want it, and the smoker does the rest. What’s the fun in that? Smoking is as much art as science, and while pellet smokers and electric smokers are easier to use, live fire makes better food. Simply put, you can do more with a live fire.
I could have purchased an offset smoker, which has both a main cooking chamber, and an offset fire box. With an offset smoker, you can cook using nothing but wood, and if you really want to infuse the flavor of smoke into meat, that’s the way to go. Offset smokers have a number of drawbacks, though. It takes a lot of wood to cook for twelve hours, and the kinds of wood you cook with are expensive, making offset smokers kind of pricy to use. Offset smokers are also harder to use, making it very easy to either dry out, or over smoke your food (too much smoke makes meat bitter). You can use charcoal and wood chips in an offset, but then the offset is just like a bullet smoker, but more difficult to use. Finally, a quality offset smoker is expensive. Cheap offset smokers are out there, but the cheap ones don’t cook well. Decent offset smokers start at around $1,000. I may one day add an offset smoker to my arsenal, but I am not buying an offset as my first smoker.

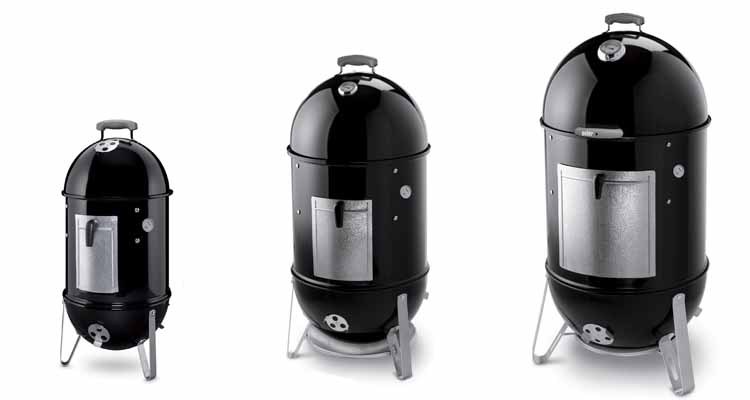
I opted for a Weber Smokey Mountain. The Smokey Mountain comes in three models: 14.5 inch, 18.5 inch, and 22.5 inch, and each model has two cooking racks. In terms of capacity, the 14.5 inch smoker can cook two chicken, the 18.5 inch can cook six chicken, and the 22.5 inch can cook eight chicken. These smokers do an amazing job, and are relatively easy to use.
My wife and I live by ourselves, with my son here about 40% of the time (and a daughter off in college). Generally speaking, the 14.5 inch smoker is more than sufficient for our needs. My wife, however, likes to entertain, and I love to grill, so we throw occasional parties.
The 22.5 inch smoker has lots of room, and when we throw our next party I plan on smoking a brisket and a pork shoulder, along with as many as six slabs of ribs, all at the same time. The 22.5 inch will support that, whereas the smaller units will not. I opted for the 22.5 inch model, which should give me enough capacity for any party we might hold.
I wanted to use my new smoker right away, so I also bought a bone-in pork shoulder, which is a cut of meat I’d never tried on a kettle grill.
The Smokey Mountain was a piece of cake to assemble; I did not even need the instructions. The only ‘gotcha’ is that the smoker comes with two types of washers, and there is no indication for which type of washer should be used where. As long as you don’t use the wrong washers in the wrong places (hint – where it calls for two washers, you use one of each – otherwise just use the metal ones), setup is a snap.
After assembling the smoker, I prepared my pork shoulder, rubbing it down with French’s yellow mustard, and then with a generous application of Lysander’s Mesquite Rub. I covered the shoulder with aluminum foil in the fridge, and soaked several mesquite wood chunks overnight. I took the shoulder out as soon as I got up in the morning, to let it rise to room temperature while I prepared the smoker.
The smoker comes in three sections, with a fire pit, a main body, and a lid. The main body has two cooking racks, with a bowl for water under the lower rack. I took lid and body off the fire pit, and poured a full bag of Kingsford in. I then hollowed out from the middle of the charcoal to create a cavity, filling about a half a chimney with some of the charcoal. I put my wood chunks near the vents.
Note that though I soaked my wood chunks, you can also use them dry. Wet wood creates more smoke and a richer smoke flavor, whereas dry wood creates a sharper wood flavor. You should choose to soak or not depending on the kind of wood being used, and the kind of flavor desired. Note that I use wood chips on the kettle grill, and dry chips burn up so fast that you have to soak them…
There are three vents in the bottom of the smoker that control air flow to the fire, and one vent in the lid to control exhaust. You control the temperature primarily with the bottom vents, leaving the top vent wide open.
I fully opened the bottom vents, and poured the lit charcoal in my chimney into the fire pit. Then I put the body and lid on the smoker, and as the smoker approached 200 degrees, I closed the bottom vents to about 1/4 open.
The middle section of the smoker has a large water bowl that lies just under the lower cooking rack. I filled the bowl about half way with water, and realized about an hour later that I needed more water to help hold the heat down. Luckily, there is an access door. I ended up filling the water bowl the rest of the way with a hose, and I recommend using a hose to fill that bowl on the 22.5 inch Smokey Mountain. It holds a lot of water.
It turns out that I lit too much charcoal with the chimney. I should have lit between twenty and thirty pieces. I don’t know how much I lit, but it was more than that, and as a consequence the smoker wanted to run hot. I wanted to cook at 225 degrees, and even with all of the bottom vents fully closed, the smoker was still running in the 230s and 240s. A few times I had to shut the top vent half way to keep the temperature below 250 degrees.
It turns out that a brand new Weber Smokey Mountain does not seal very well, so my fire was getting air even with the vents fully closed. As I cook more, smoke and grease will build up to create a better seal, helping it to run at lower temperatures. The Smokey Mountain is supposedly a ‘set it and forget it’ smoker, where once you have the vents dialed in, the temperature holds for long durations. A full bag of charcoal should last a good twelve hours. Since I was running hotter than I wanted, I never achieved a ‘set it and forget it’ temperature.
It takes time for a smoker to settle in after a vent adjustment, so it’s best to let the smoker go a half hour after each adjustment. If you adjust too often, you’ll end up chasing your tail.
I also used the Weber iGrill thermostat. I had one probe in the pork shoulder, tracking the temperature of the meat, and another in an access grommet on the smoker, where it could track the temperature of the grill at the cooking surface. There was about a twenty degree difference between the temperature on the lid and the cooking surface, which, to me, is a significant difference. I don’t cook on the lid, so I don’t care what the lid temperature is. It’s the temperature where the meat is that counts.
The iGrill (2.0) communicates via Bluetooth with your phone, so I could monitor temperatures without being near the grill. The iGrill comes with two probes, and supports up to four. My phone lost the Bluetooth connection somewhat frequently, and sometimes I had to turn the thermostat off and on again to reconnect my phone. Other than that, the iGrill was a great addition.
I let the pork shoulder cook for about five hours, and then began spritzing it down with apple juice every hour or two. After nine or ten hours, I had to start opening vents to keep the temperature up. Eventually, I was running at 220 degrees with the vents wide open. I should have been able to go at least twelve hours on a bag of charcoal, but because I lit too much at the beginning, one bag was not enough for the full cook.
I opened the access door, and put in about six handfuls of fresh charcoal. The next thing I knew, the temperature wanted to run high again, and I had to close all the vents. I spent the next several hours opening and closing the vents, adding charcoal when the temperature dropped down to 120 (with the vents wide open), and then closing the vents again as the new charcoal heated up, to keep the temperature from getting too high. I was adding charcoal every hour or so, so I was pretty busy.

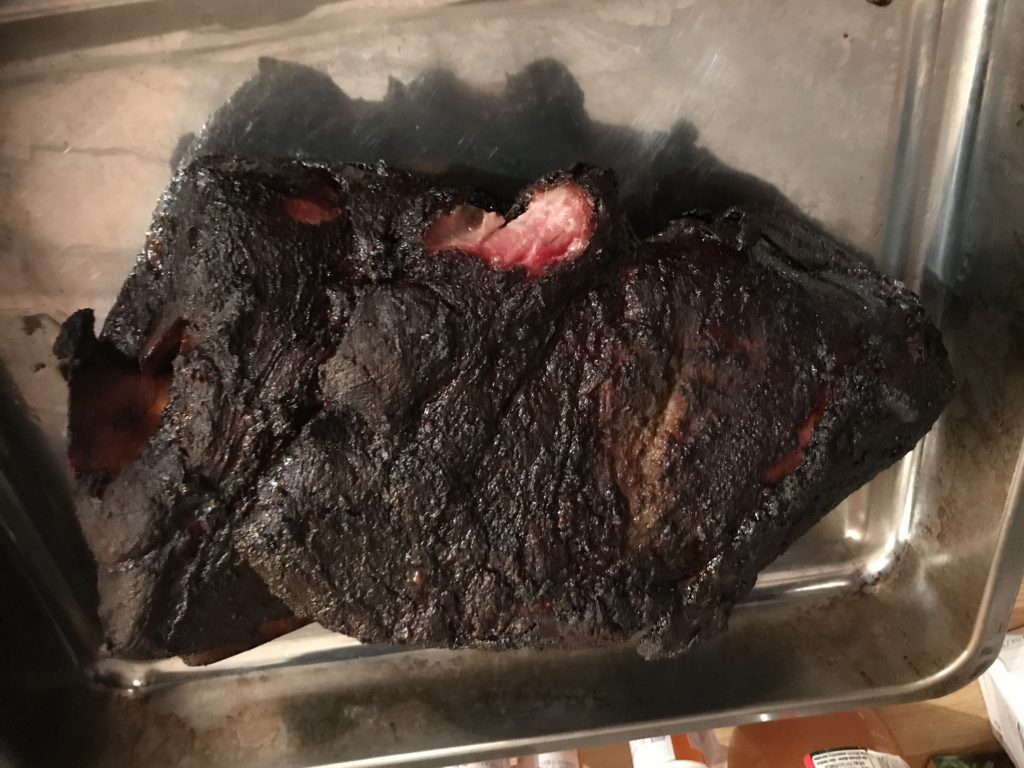
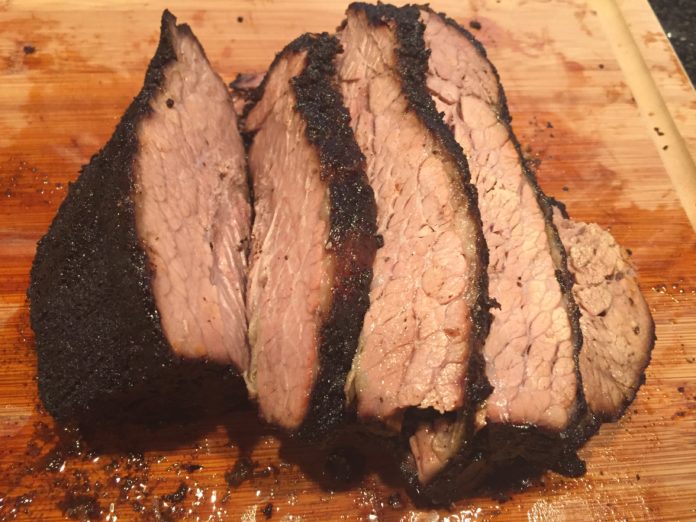
At about 165 degrees, the shoulder’s temperature stalled, and stayed there for several hours. That’s normal with pork shoulders. Eventually, the shoulder will start to rise in temperature again. My pork shoulder hit the target temperature of 190 degrees after a little more than 13 hours. It had a beautiful, dark bark, and a very nice smoke ring. The resulting pulled pork was out of this world…
This was my first cook, and it was on a brand new, unseasoned smoker. There is a learning curve, and I made a couple of mistakes. Luckily, the Weber Smokey Mountain proved to be forgiving. Even though it was brand new (and leaks air), I could keep the temperature reasonably close to my desired cooking temperature, and when I started running out of charcoal, I could add more to finish the cook. Try running hot in a Green Egg or something and see what happens – those units are so well insulated that you can’t bring the temperature back down! My pork shoulder would have been ruined, had it been in an egg-style grill… Once I’ve used my Smokey Mountain a few times and seasoned it in, I’ll be able to setup a cook in the evening, and let it cook unattended all night.
I can’t argue with the end result. My pulled pork was as good as any pulled pork I’d ever had. We got some onion hamburger buns, some BBQ sauce, and some coleslaw, and had pulled pork sandwiches for dinner. We also ate quite a bit of the pulled pork plain. It was juicy, and full of flavor (particularly in the bark). My wife and I can’t eat all of the pulled pork ourselves, so we gave our neighbors quite a bit too.
My first experience with the Weber Smokey Mountain smoker could not have been better. I can’t wait to use my smoker again!


